Mastering the Frame: Hide Belly Fat and Amplify Confidence in Every Shot 📷
Let’s face it — we all want to look our best in photos. And if you carry some extra weight around your midsection, the camera can sometimes exaggerate it. The good news? You don’t need a six-pack to look good. With the right techniques, you can hide belly fat in photos and project confidence, style, and strength.
Why Angles and Posture Are Everything
It’s not about sucking in your gut — it’s about controlling your posture and the camera. Standing tall, adjusting shoulder position, and turning slightly to the side can instantly reduce visual belly size by creating shape and shadow.
The Power of Side Poses
A slight angle (not full profile) narrows your waist while keeping your chest and arms prominent. Pair this with good lighting and a relaxed facial expression for best results.
Choose Clothes That Work With Your Body
The right clothes can make a huge difference in photos. Avoid tight fabrics that cling around your waist or thick belts that cut the midsection. Instead, go for structured clothing with layers — like a fitted t-shirt under an open jacket or shirt. It creates vertical lines that pull the eye upward.
Layering Wisely
Adding a jacket, vest, or overshirt adds dimension to your upper body while subtly hiding the abdominal area. This trick is used by celebrities and style experts daily.
Use Lighting Strategically
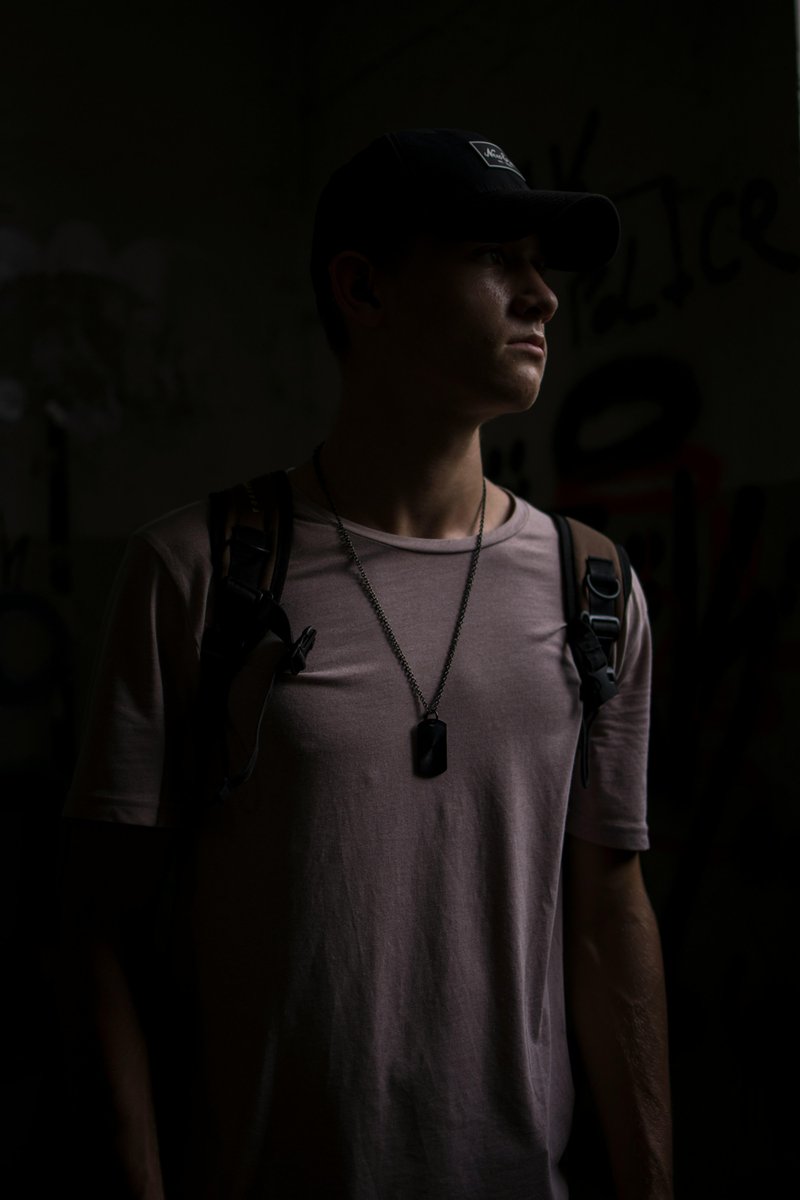
Lighting changes everything. When placed correctly, it can create shadows that contour your body and reduce the appearance of roundness. Use top-down lighting to highlight your chest and shoulders while casting subtle shadows below.
Backlighting and Side Lighting
These angles define the edges of your torso, helping to shape the silhouette. Avoid harsh front-facing flash — it flattens the body and emphasizes bulk.
Want to take your appearance beyond lighting? Learn more in lighting muscles men.
Choose the Right Camera Angle
Shooting from eye level or slightly above is ideal. A low camera angle can make your stomach protrude and distort proportions. Position the lens just above the line of your shoulders, and keep the frame slightly angled down.
Leaning Slightly Forward
This trick tightens the upper torso and pushes the stomach slightly back in the frame. Combined with a subtle arm flex or turned shoulder, it draws attention upward.
Use Props and Framing Tricks
You can use your environment to your advantage. Sitting with a table in front of you, crossing your arms strategically, or posing near a doorway can add structure to your posture and conceal your belly.
Smart Sitting Positions
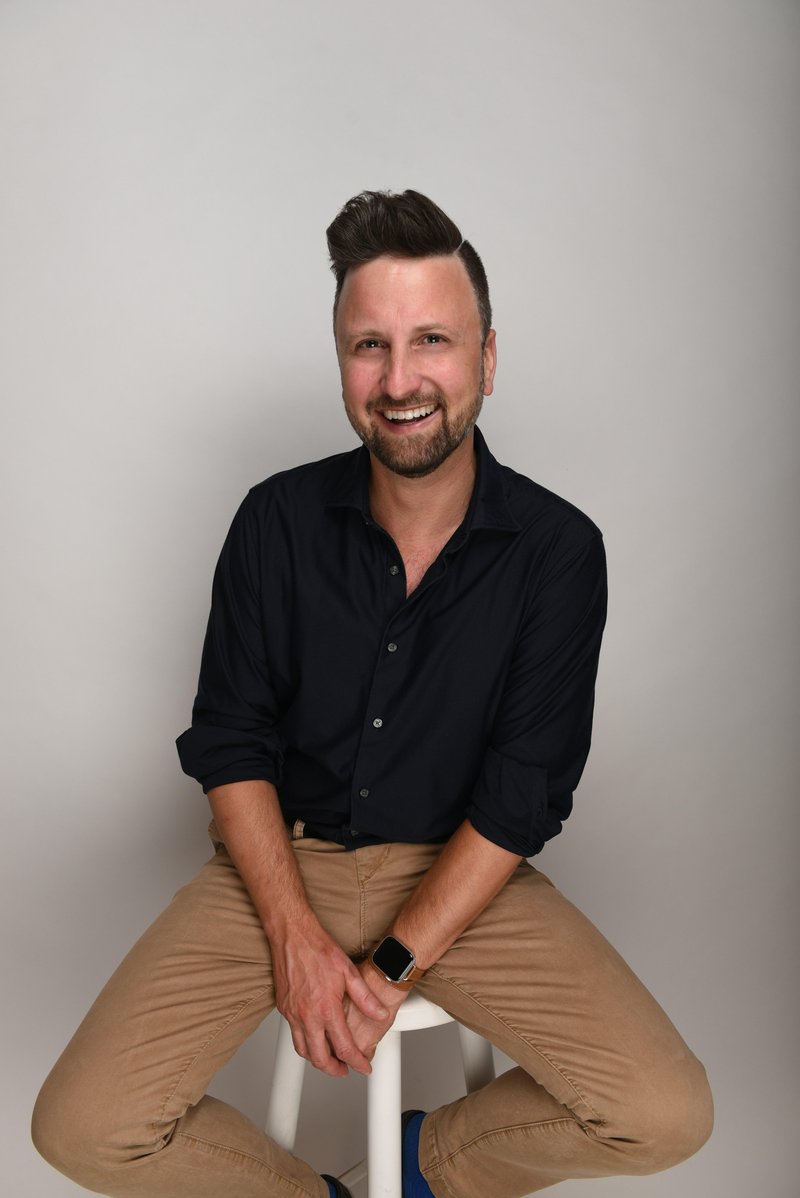
If you’re seated, never slouch. Sit tall with a slight forward lean, rest your hands on your thighs or the edge of a surface, and keep your elbows slightly out to expand your upper frame.
Understand How Perspective Changes Shape
Objects closer to the camera appear larger. Avoid leaning your waistline toward the lens. Instead, angle your chest slightly forward and position your stomach farther from the lens.
Distance and Zoom
Use a medium zoom from 1.5–2 meters away. This flattens the image slightly and prevents lens distortion that can widen the midsection.
Confidence is the Best Filter
Looking good in photos starts with how you feel. A confident posture, relaxed face, and focused gaze project power. Avoid nervous smiles or stiff arms — they draw attention to discomfort.
Facial Expressions That Help
A neutral look with slightly narrowed eyes and a relaxed mouth is ideal. Think “movie poster energy.” Own the frame. You don’t need to flex — just stand tall and command it.
Layer Visuals for Distraction
Distract the eye naturally by adding visual interest elsewhere in the shot. Use shadows, lines, layers, or accessories like watches or necklaces. These elements subtly redirect attention from your core to your upper frame or face.
Take Multiple Shots — Then Compare
Set a timer or burst mode and take 10–15 shots in slight variations of the same pose. Even subtle tweaks in shoulder roll or lighting make a big difference. Choose the one that gives the most flattering shape.
For more on how to pose upper body, read our article flexing photo tips or learn how arms look bigger in photos.
Checklist: How to Hide Belly Fat in Photos
- Stand or sit tall — never slouch
- Use top-down or side lighting
- Turn slightly to the side
- Keep stomach away from camera
- Use layers or structure in clothing
- Avoid harsh flash and low angles
- Control your breathing and posture
- Smile or smirk with confidence
- Take multiple shots and analyze what works
Mistakes That Make Belly Fat Look Worse
- Slouching: Compresses the stomach and makes you appear shorter and wider
- Direct flash: Erases natural shadows and exposes every curve
- Bright tight shirts: Highlight every line and wrinkle
- Hands on belly: Draws attention to the area you’re trying to downplay
Final Thoughts: Look Good at Every Size
Hiding belly fat in photos doesn’t mean hiding who you are. It means showing your best self with smart strategy. You deserve to feel good in every picture — no matter your size.
And when you’re ready to go beyond the photo and take action toward your best self physically, mentally, and sexually — join the method trusted by thousands of men for real transformation.
The Psychology Behind Camera Perception
Our brains make snap judgments based on visual cues — even in milliseconds. Angles, symmetry, and posture send subconscious messages about strength, health, and dominance. Mastering how you’re seen in photos isn’t vanity — it’s visual communication.
Line of Sight and Power
Looking slightly above the lens gives you a more assertive, grounded look. Looking down into the camera can make you appear submissive or withdrawn. Always own your eye level.
Best Colors and Patterns to Flatter the Core
Dark, solid colors absorb light and smooth contours. Patterns — especially horizontal ones — can widen the waist. Vertical stripes elongate. Structured jackets or overshirts provide clean lines that shape the upper body visually.
Good Fabric Choices
Stretch cotton, henleys, or soft flannels are forgiving and shape-flattering. Avoid shiny synthetics or anything that clings tightly under bright light. Comfort = confidence.
Dynamic Movement Shots
If you don’t want to stand stiff for the camera, try walking photos. Movement distracts from the midsection and adds energy. Walk confidently, arms swinging slightly, with your torso angled to the side and chin up.
Lean, Move, Reset
Between shots, shake out your body. Reset your stance. Even professional models do this. It prevents stiffness and reactivates posture.
Influencers’ Secrets to Slimming the Midsection
- Use soft shadow from windows, never direct light
- Pose while breathing out gently — no sucking in
- Crop photos just above the hip line
- Twist shoulders while keeping hips neutral
- Keep chin slightly forward for better neck line
Use Framing Devices in the Environment
Standing near railings, open doors, gym equipment, or mirrors can add framing that narrows your shape or distracts from the belly. Use geometry — straight lines, contrast, symmetry — to elevate your presence.
Symmetry Creates Strength
Center yourself between vertical objects like columns, doorways, or trees. This balances the shot and draws attention upward toward your shoulders and head.
Expand Your Photo Skills
Want to look leaner, stronger, and more defined in every photo? Master these additional guides:
- flexing tips for muscle definition
- muscle-lighting tricks
- camera angles that make men look stronger
- make arms look bigger in photos
You Don’t Need Perfection to Be Powerful
You don’t need to hide yourself — just highlight what works. With smart posing, lighting, and framing, anyone can look lean, confident, and sharp in photos — belly fat or not.
Before & After: Real-World Application
Take a simple before/after series with these differences:
- Before: Slouched, low camera angle, bright shirt, harsh front light
- After: Upright posture, camera slightly above eye level, darker shirt, top-down light, torso turned 15 degrees
The result? You’ll look 5–10kg leaner instantly — no editing, no filters, no tricks. Just technique.
Editing: Light Enhancements Only
Instead of filters that distort, adjust brightness, contrast, and shadows. Pull highlights down slightly. This helps shape the torso naturally without fake warping or AI smoothing.
Cropping for Maximum Effect
Crop just above the waistline or below the chest. This puts focus on your arms, chest, and face — while subtly minimizing belly visibility.
Own Every Frame — On Your Terms
Mastering how to hide belly fat in photos isn’t about shame — it’s about control. You deserve to look great at any stage. These tactics are your toolkit.
🪞 What Works vs. What Exposes Belly Fat
| Common Mistake | Visual Solution |
|---|---|
| Slouching | Straight posture with chest forward |
| Camera too low | Raise camera above chest height |
| Bright, tight shirts | Use structured dark layers |
| Facing camera directly | Angle torso 15–30° away |
FAQs 🔍
Is it possible to hide belly fat in group photos?
Yes — stand slightly turned with one leg forward, shift weight back, and use arms or props to frame your torso. This creates shape while minimizing the waistline.
How do I pose sitting down to avoid showing belly rolls?
Sit tall, lean slightly forward, and keep hands on your thighs or knees. Avoid slouching or folding arms — both compress the midsection visually.
 Hide Belly Fat and Amplify Confidence: Photo Techniques That Really Work – strength and sexual wellness theme – via supremepenis.com
